

In my recent side project endeavors, I delved into the world of Lucia Auth, a powerful TypeScript-based open-source authentication library. Lucia Auth offers seamless integration for implementing authentication in various JavaScript frameworks such as Astro, Next.js, SolidStart, SvelteKit, and many more.
Understanding Lucia Auth
For those unfamiliar with Lucia, it serves as an authentication solution designed to streamline the process of incorporating social login functionality into your web applications. Its versatility extends across a spectrum of popular JavaScript frameworks, making it a go-to choice for developers seeking a robust authentication solution.
Leveraging TypeScript's Strengths
One notable aspect of Lucia Auth is its foundation in TypeScript. This choice ensures a high degree of type safety and code integrity throughout the authentication process. However, it's essential to note that Lucia's TypeScript dependency may pose challenges for projects with backend systems that do not utilize TypeScript.
Overcoming Limitations
While Lucia Auth is indeed a pure TypeScript project, its reliance on the language may present obstacles for projects operating in environments where TypeScript is not prevalent. In such cases, developers need to devise strategies to bridge the gap between Lucia Auth and their non-TypeScript backend systems.
Challenges to Consider
In the context of Rust projects, this challenge is particularly pronounced due to the language's distinct characteristics and ecosystem. In This Article, We are going to explore how we can integrate Lucia Auth with Rust Projects. This Article is going to be a bit long, so grab a cup of coffee and let's get started. Same principles can be applied to resource servers written in other languages to Create their own Session Validation Middleware.
Integrating Lucia Auth Social Login in Next.js
Explore our basic Next.js application integrated with Lucia Auth for Google login. Access the complete repository Here.
- Google Login Integration: Social Login with Google using Lucia and NextJS
- Login/Logout Functionality: Allow users to login and Logout using Google Authentication
- Store based Authentication: Test authentication data storage in local storage; for production, switch to secure HTTP cookies.
Implementing Protected Routes with Axum
After successfully integrating Lucia Auth for user authentication in our server environment, let's shift our focus to Rust. Our goal now is to design a protected route in Axum that utilizes the session ID from Lucia to validate users and send back responses.
Leveraging Axum and seaorm
To streamline our development process, we'll utilize Axum for building our web server and seaorm for simplifying ORM mapping with PostgreSQLdatabases.
Setting Up the Rust Project
Start by creating a new Rust project using the following command:
cargo new resourceNext Steps
With our project set up, we'll proceed to initialize a simple Axum project with a "Hello, World!" endpoint. From there, we'll gradually enhance our server implementation to incorporate authentication using Lucia session IDs and implement protected routes.
Adding Depenenices
Start by Adding Depenenices to your Cargo.toml file. Add Tokio for async runtime and Axum for building our web server.
[dependencies]
tokio = { version = "1.37.0", features = ["full"] }
axum = "0.7.5"
As of Time of Writing, Axum is at version 0.7.5 and Tokio is at 1.37.0. Add the Following Code to your main.rs file inside the src directory.
#[tokio::main]
async fn main() {
    let app = Router::new().route("/", get(root));
    let listener = tokio::net::TcpListener::bind("0.0.0.0:5600").await.unwrap();
    axum::serve(listener, app).await.unwrap();
}

async fn root() -> &'static str {
    "Hello, From protected Route"
}
Just like that, we have a simple Axum server running on port 5600. To test it , Open Your Browser and Navigate to http://localhost:5600. You should see the message "Hello, From protected Route".
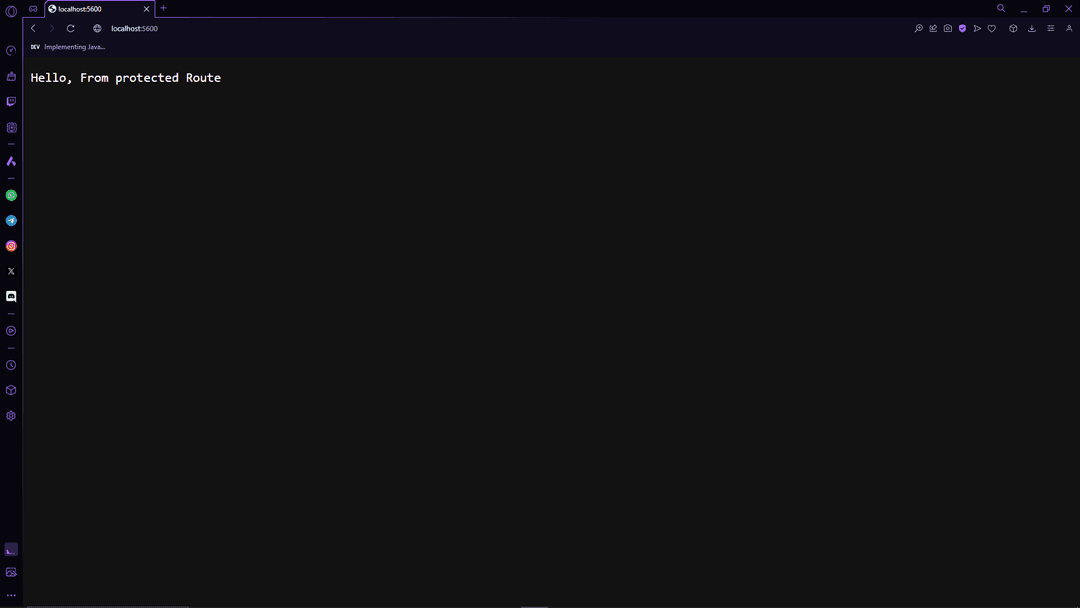
If you see the message, Congratulations! You have successfully set up your Axum Server. We now have to talk to Database to validate Sessions and Implement Protected Routes.
Setting Up SEA ORM
To simplify ORM mapping with PostgreSQL databases, we'll leverage sea ORM. This library offers a seamless interface for interacting with databases, enabling us to manage data effectively within our Rust applications. We will also be using sea ORM cli to introspect our Database and auto generate Models.
Run the following command to install sea ORM CLI
cargo install sea-orm-cli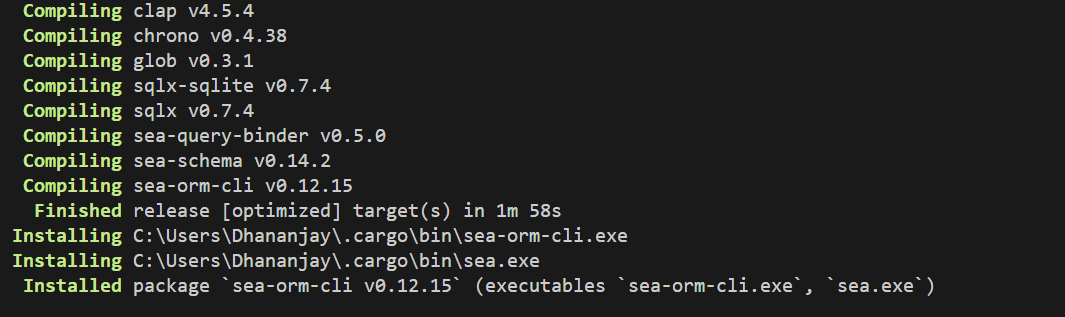
Generating ORM Mapping
Once the installation is complete, we can generate ORM mapping for our database by running the following command:
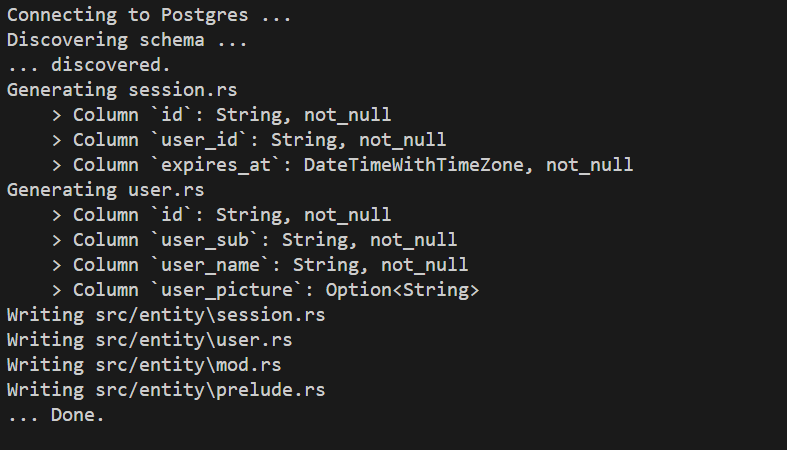
sea-orm-cli generate entity --database-url URL_HERE -o src/entityReplace URL_HERE with your database URL. The sea ORM CLI will generate the necessary files for ORM mapping within the src/entity directory.
if everything goes well, you should see the following message
Include the Following Mod File In Your main.rs file so rust can look for module when it comes to resolving
mod entity;Continuing with SEA ORM Setup
Now that we have our ORM Mapping Generated, we can start using it , let's start by adding SEA ORM to our dependencies in Cargo.toml file. Till now we were using SEA ORM CLI to generate ORM Mapping, now we will use the library to interact with our database. Add the Following Code to your Cargo.toml file.
sea-orm = { version = "0.12", features = [
    "sqlx-postgres",
    "runtime-tokio-rustls",
    "macros",
] }
chrono = "0.4.35"
dotenvy = "0.15.7"
We are instructing Cargo to install sea-orm version 0.12 with support for postgres dialect, tokio runtime and chrono for date time operations. We are also adding dotenvy for loading environment variables. Which we will use to load our database URL.Once we have added the dependencies , we can start using it in our project.
Setting Up Connection with Database
Start by Adding the Following Code to main section of your main.rs file which would load the database URL from .env file and establish connection with the database.
async fn main() {
    dotenv().expect(".env file not found");
    let db_conn_string = env::var("DATABASE_CONNECTION").unwrap();
    //rest of the code
}
Declare a router state to hold the database connection and pass it to the router.
#[derive(Clone)]
struct RouterState {
    db: DatabaseConnection,
}

#[tokio::main]
async fn main() {
    dotenv().expect(".env file not found");
    let db_conn_string = env::var("DATABASE_CONNECTION").unwrap();
    let db_conn = Database::connect(db_conn_string).await.unwrap();
    let state = RouterState { db: db_conn };
    let app: Router = Router::new().route("/", get(root)).with_state(state);
    let listener = tokio::net::TcpListener::bind("0.0.0.0:5600").await.unwrap();
    axum::serve(listener, app).await.unwrap();
}

async fn root() -> &'static str {
    "Hello, From protected Route"
}
Writing Middleware for Session Validation
Let's write a middleware that would validate the session ID from Lucia Auth and allow access to protected routes. Add the following code to your main.rs file.
async fn ValidateRequest(
    State(state): State<RouterState>,
    headers: HeaderMap,
    request: Request,
    next: Next,
) -> Result<Response, StatusCode> {
}
We are going to use the ValidateRequest to intercept the request and validate the session ID from Lucia Auth. If the session ID is valid, we will allow access to the protected route. Otherwise, we will return a 401 Unauthorized response.Let's First check if the request has a session ID in the headers.
async fn ValidateRequest(
State(state): State<RouterState>,
headers: HeaderMap,
request: Request,
next: Next,
) -> Result<Response, StatusCode> {
let authorisation_header = headers.get("Authorization");
match authorisation_header {
None => Err(StatusCode::UNAUTHORIZED),
Some(headerValue) => {
let response = next.run(request).await;
Ok(response)
}
}
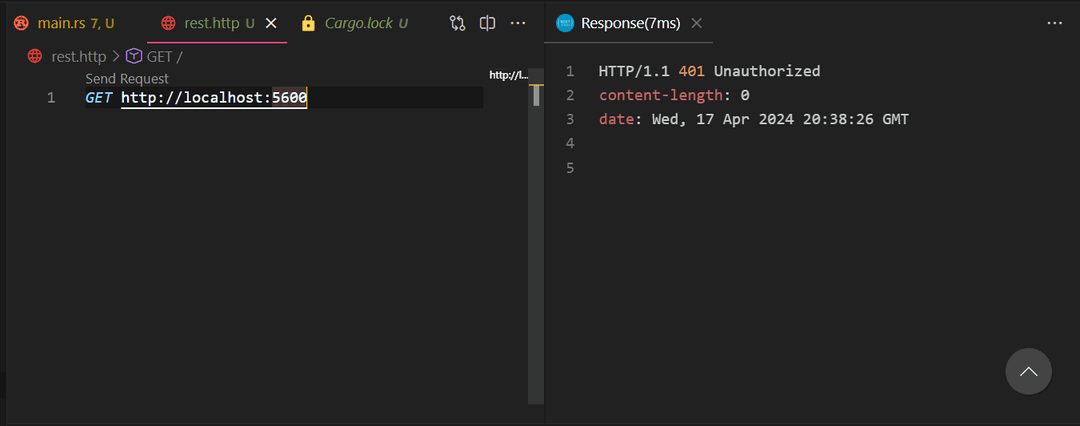
}In the above code, we are checking if the request has an Authorization header. If the header is not present, we return a 401 Unauthorized response. If the header is present, we proceed to the actual route.
Let's Test the Middleware by adding it to our Router. Update your app definition to include the middleware.
async fn main() {
    dotenv().expect(".env file not found");
    let db_conn_string = env::var("DATABASE_CONNECTION").unwrap();
    let db_conn = Database::connect(db_conn_string).await.unwrap();
    let state = RouterState { db: db_conn };
    let app: Router = Router::new()
        .route("/", get(root))
        .route_layer(middleware::from_fn_with_state(
            state.clone(),
            ValidateRequest,
        ))
        .with_state(state);

    let listener = tokio::net::TcpListener::bind("0.0.0.0:5600").await.unwrap();
    axum::serve(listener, app).await.unwrap();
}
Hit the server with a request without the Authorization header, you should see a 401 Unauthorized response. Add the Authorization header with a valid session ID from Lucia Auth and you should see the response from the protected route.
Copy Paste the Following Code to your main.rs file to get the complete code.
Spoiler Alert: We are going to copy a huge chunk of code. This might look like a lot of code but it's just a few lines of actual logic.
async fn ValidateRequest(
    State(state): State<RouterState>,
    headers: HeaderMap,
    mut request: Request,
    next: Next,
) -> Result<Response, StatusCode> {
    let authorisation_header = headers.get("Authorization");
    match authorisation_header {
        None => Err(StatusCode::UNAUTHORIZED),
        Some(headerValue) => {
            let session_id = headerValue
                .to_str()
                .unwrap()
                .split("Bearer ")
                .collect::<Vec<_>>()[1];
            let session_querry = session::Entity::find_by_id(session_id)
                .find_also_related(user::Entity)
                .one(&state.db)
                .await
                .unwrap();
            match session_querry {
                Some((session, user_model)) => {
                    match user_model {
                        None => Err(StatusCode::UNAUTHORIZED),
                        Some(user) => {
                            let current_time = Utc::now();
                            let expired_date: DateTime<Utc> = session.expires_at.into();
                            if current_time >= expired_date {
                                Err(StatusCode::UNAUTHORIZED)
                            } else {
                                let day_prediction = Utc::now() + Duration::try_days(15).unwrap();
                                if (day_prediction > expired_date && expired_date > current_time) {
                                    let new_expire_time =
                                        session.expires_at + Duration::try_days(30).unwrap();
                                    let mut session_update: session::ActiveModel = session.into();
                                    session_update.expires_at = sea_orm::Set(new_expire_time);
                                    let session: session::Model =
                                        session_update.update(&state.db).await.unwrap();
                                    request.extensions_mut().insert(user);
                                    let response = next.run(request).await;
                                    Ok(response)
                                } else {
                                    request.extensions_mut().insert(user);
                                    let response = next.run(request).await;
                                    Ok(response)
                                }
                            }
                        }
                    }
                }
                None => Err(StatusCode::UNAUTHORIZED),
            }
        }
    }
}
I know , I know, that was a lot of code. But please bear with me, we are almost done. Let break down the code snippet we just added.
- Extract the Session ID from the Authorization Header.
- Get the Session from the Database and also fetch the User Model
- Check if the Session is valid and notexpired. If the session is expired, return a 401 Unauthorized response.
- If the session is about to expire, update the session expiry time and return the response.
- If the session is valid, add the user model to the request and proceed to the protected route.
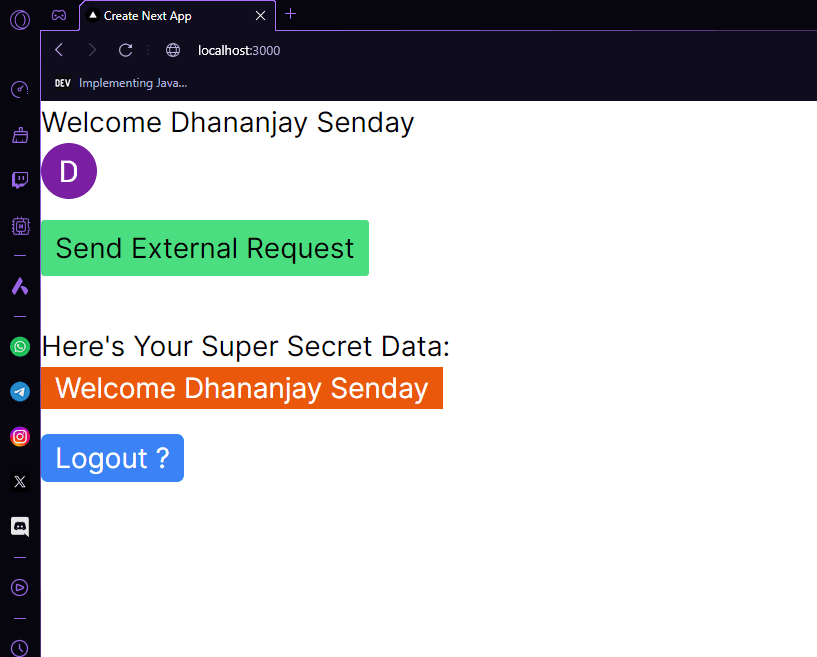
Once we have added the middleware, we also have to modify the handler to accept the user model from the request. Update the root handler to accept the user model from the request. This way we can get info about the user in the protected route without querying the database again.
async fn root(Extension(LoggedUser): Extension<user::Model>) -> String {
    format!("Welcome {}", LoggedUser.user_name)
}
In the above code, we are extracting the user model from the request and displaying the user name in the response. This way we can access the user model in the protected route without querying the database again.
While we still have Setup Middleware we still can't access it from browser because of CORS Policy. We need to add CORS Middleware to our Router to allow requests from the browser. Update main.rs file as follows.
  let app: Router = Router::new()
.route("/", get(root))
.route_layer(middleware::from_fn_with_state(
    state.clone(),
    ValidateRequest,
))
.route_layer(CorsLayer::permissive())
.with_state(state);
Additionally include the tower-http-cors dependency in your Cargo.tomlfile.
tower-http = { version = "0.5.2", features = ["cors"] }With the CORS Middleware added, you should be able to access the protected route from your browser. You can now test the protected route by sending a request with a valid session ID from Lucia Auth.
And that's it! We have successfully implemented protected routes in Rust using Axum and Lucia Auth. By leveraging the power of these tools, we can enhance our authentication workflows and streamline user access to protected resources on a non NodeJS environment.